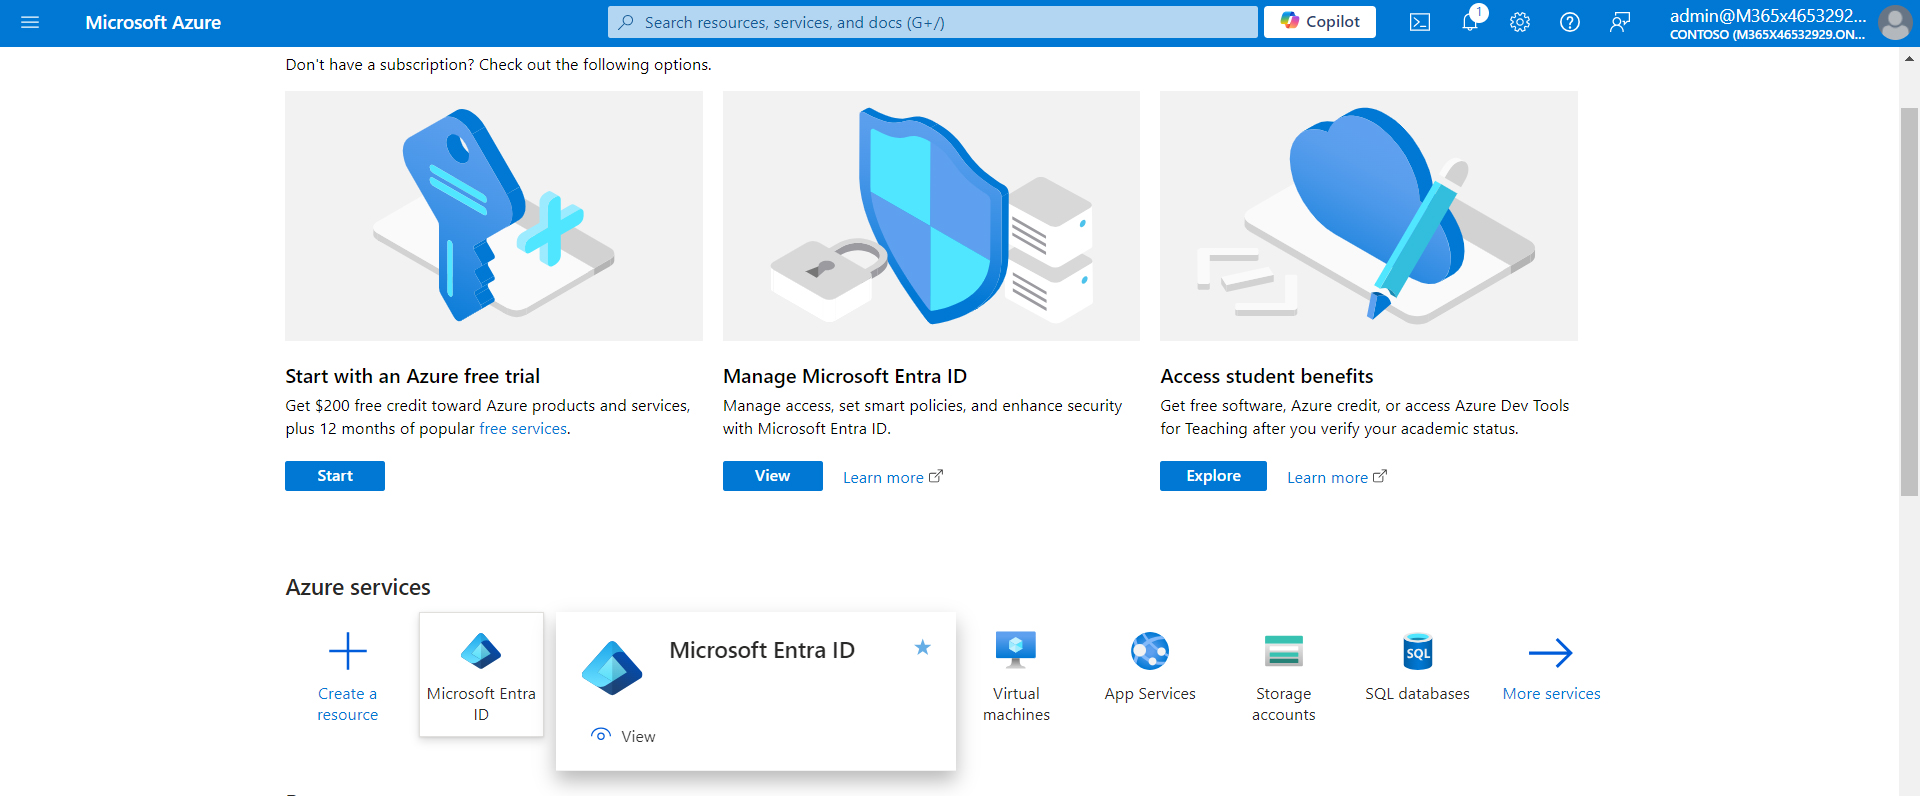
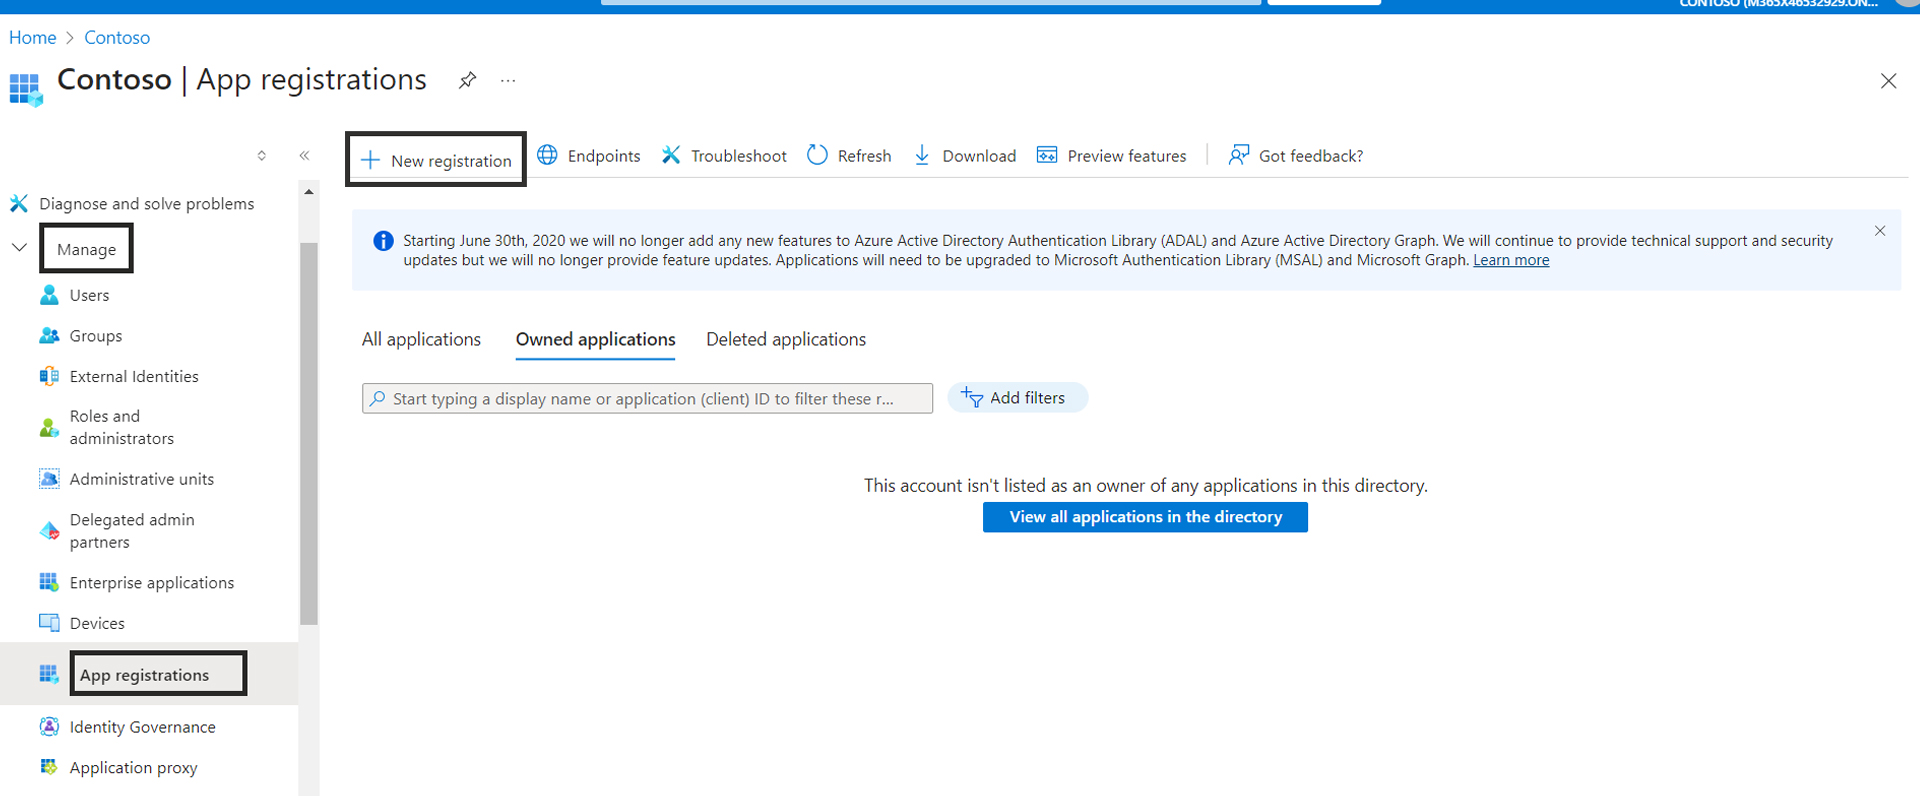
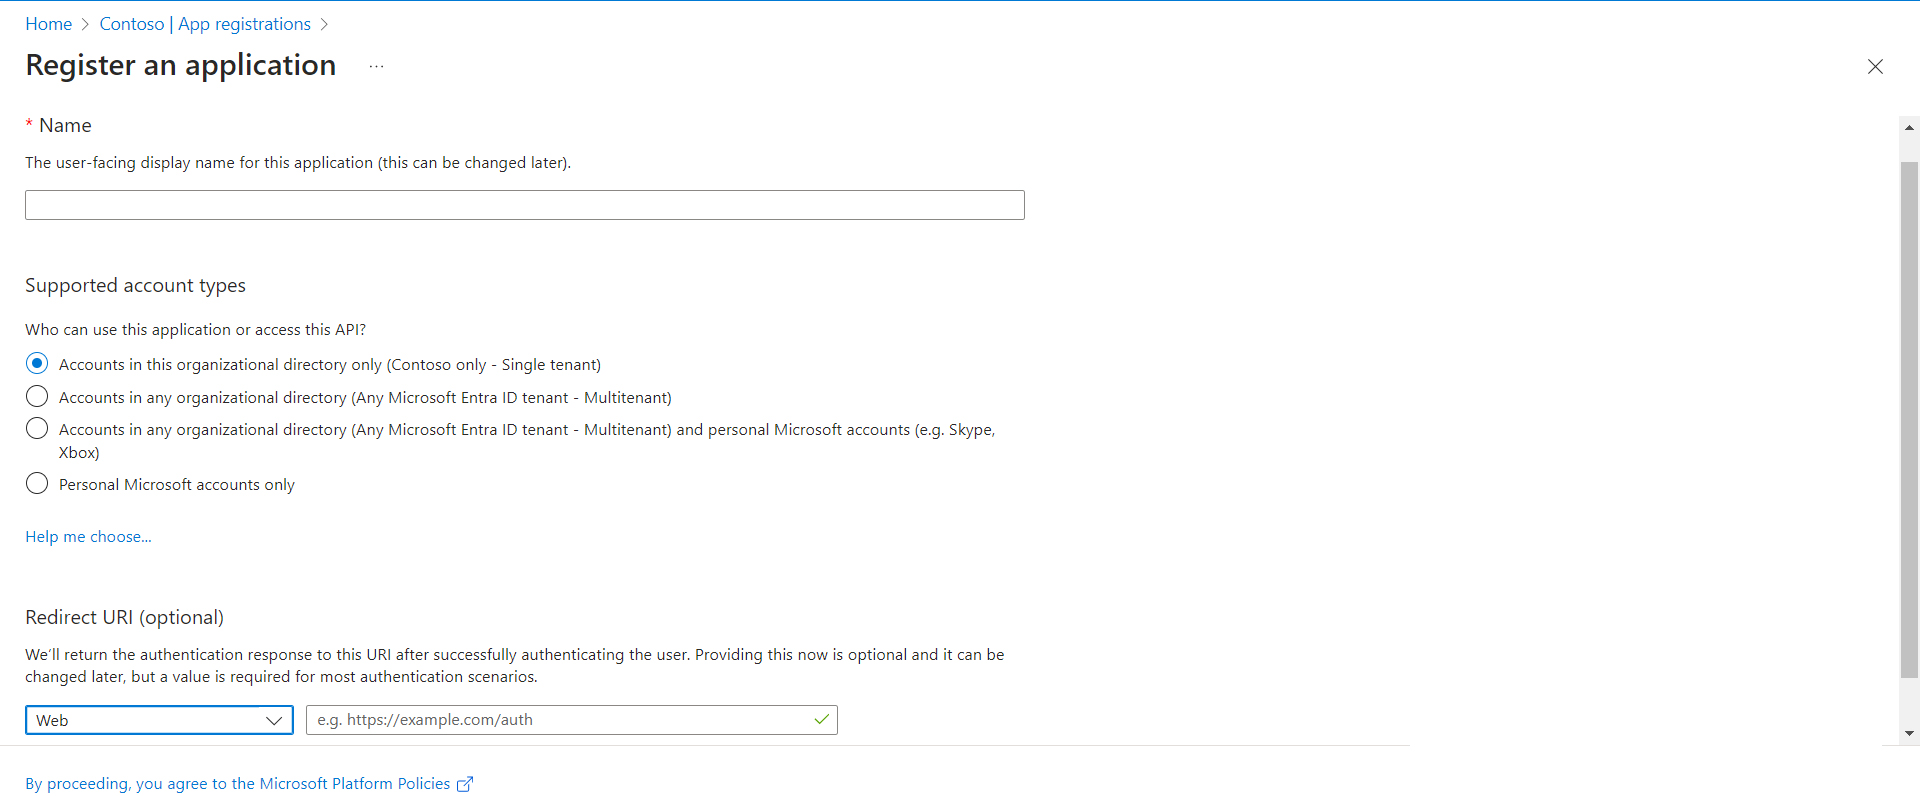
To register an app in Azure, first, navigate to the Azure portal and select “Microsoft Entra ID.” From there, click on “Manage” > “App registrations” and then “New registration.” Give your app a name and select Redirect URL web and add URL. Once registered, you’ll be taken to the app’s overview page.
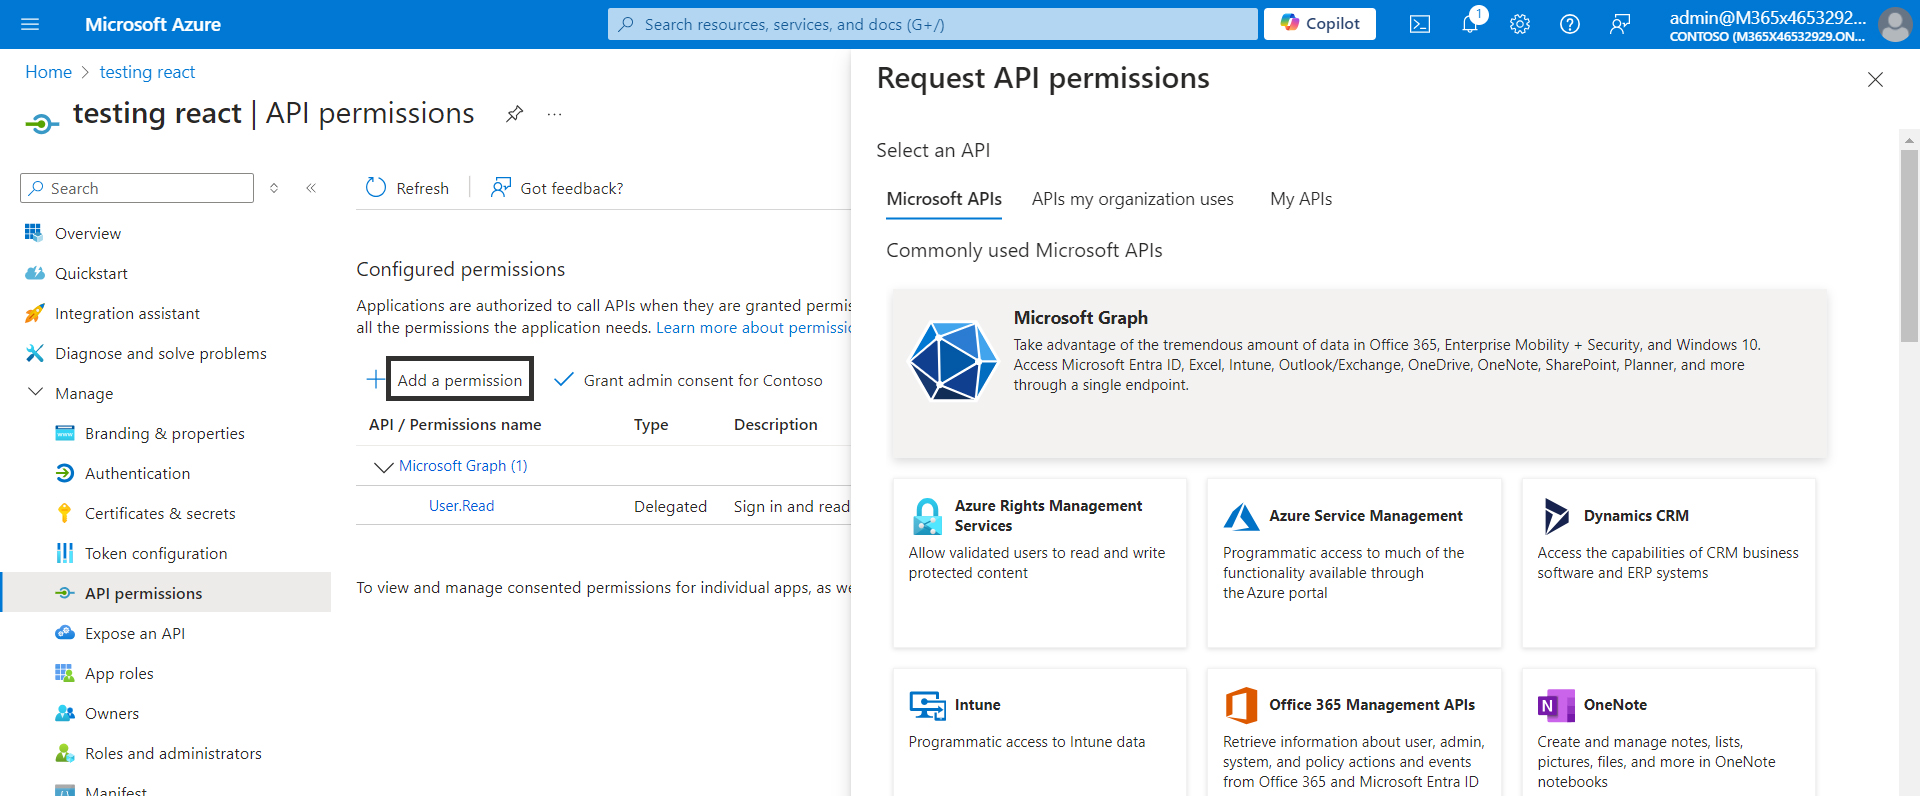
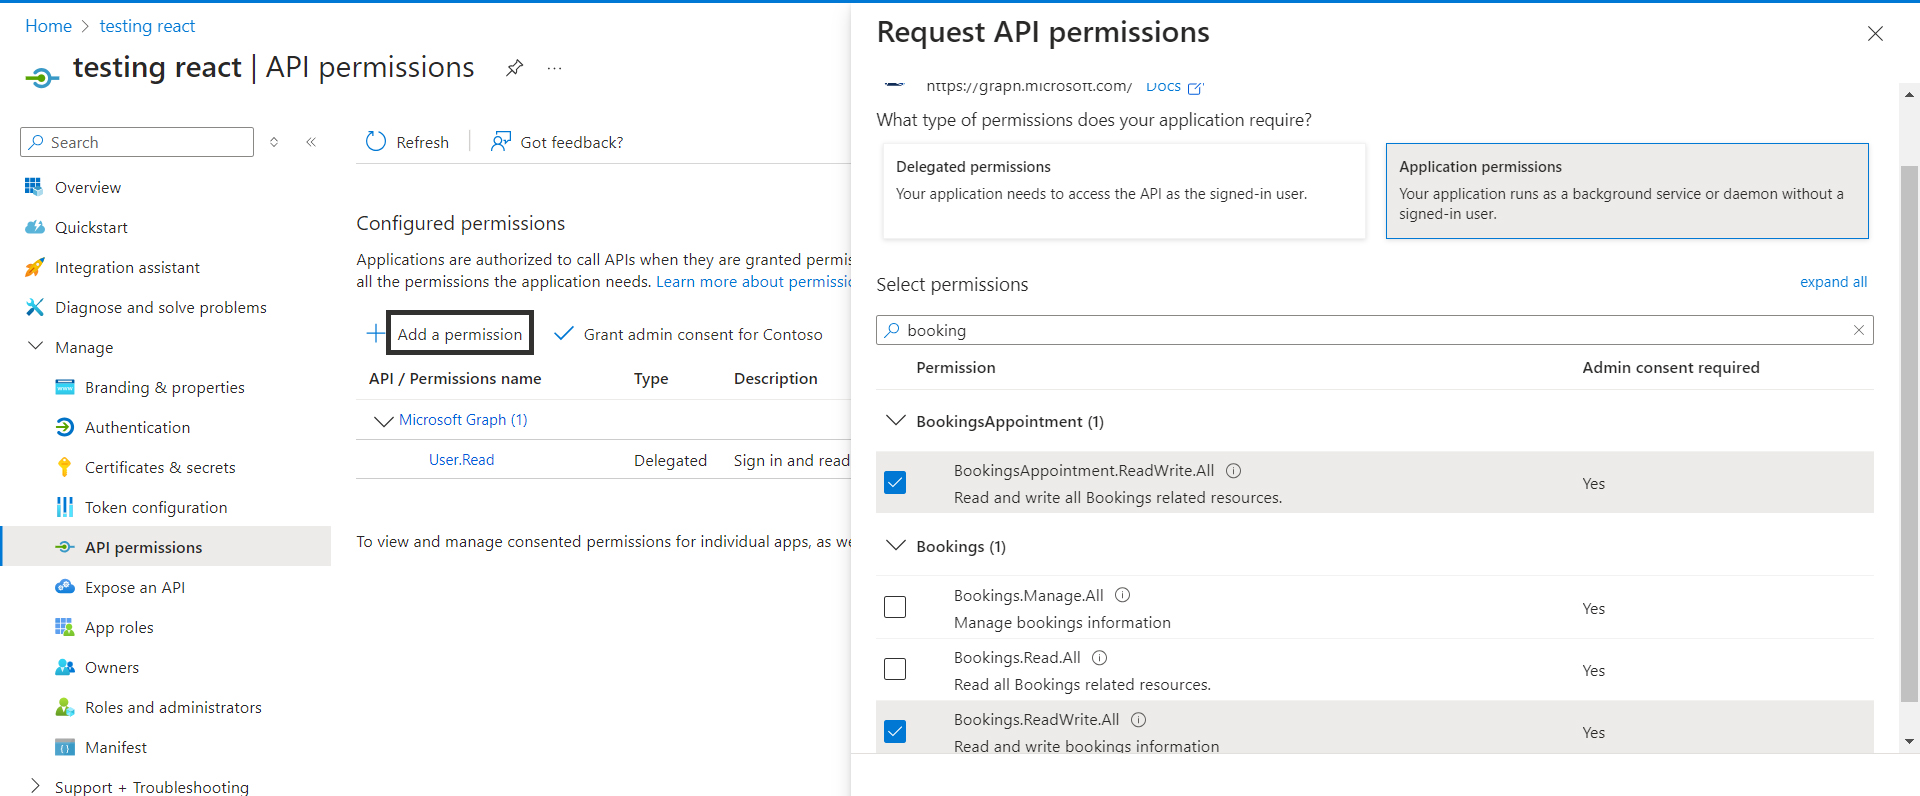
Now, let’s set up Microsoft Graph API permissions. Click on “API permissions” in the left menu, then “Add a permission.” Choose “Microsoft Graph,” and you’ll see options for delegated or application permissions. Select the Application permissions BookingsAppointment.ReadWrite.All, Bookings.Read.All and delegate permission User.Read —then click “Add” button.
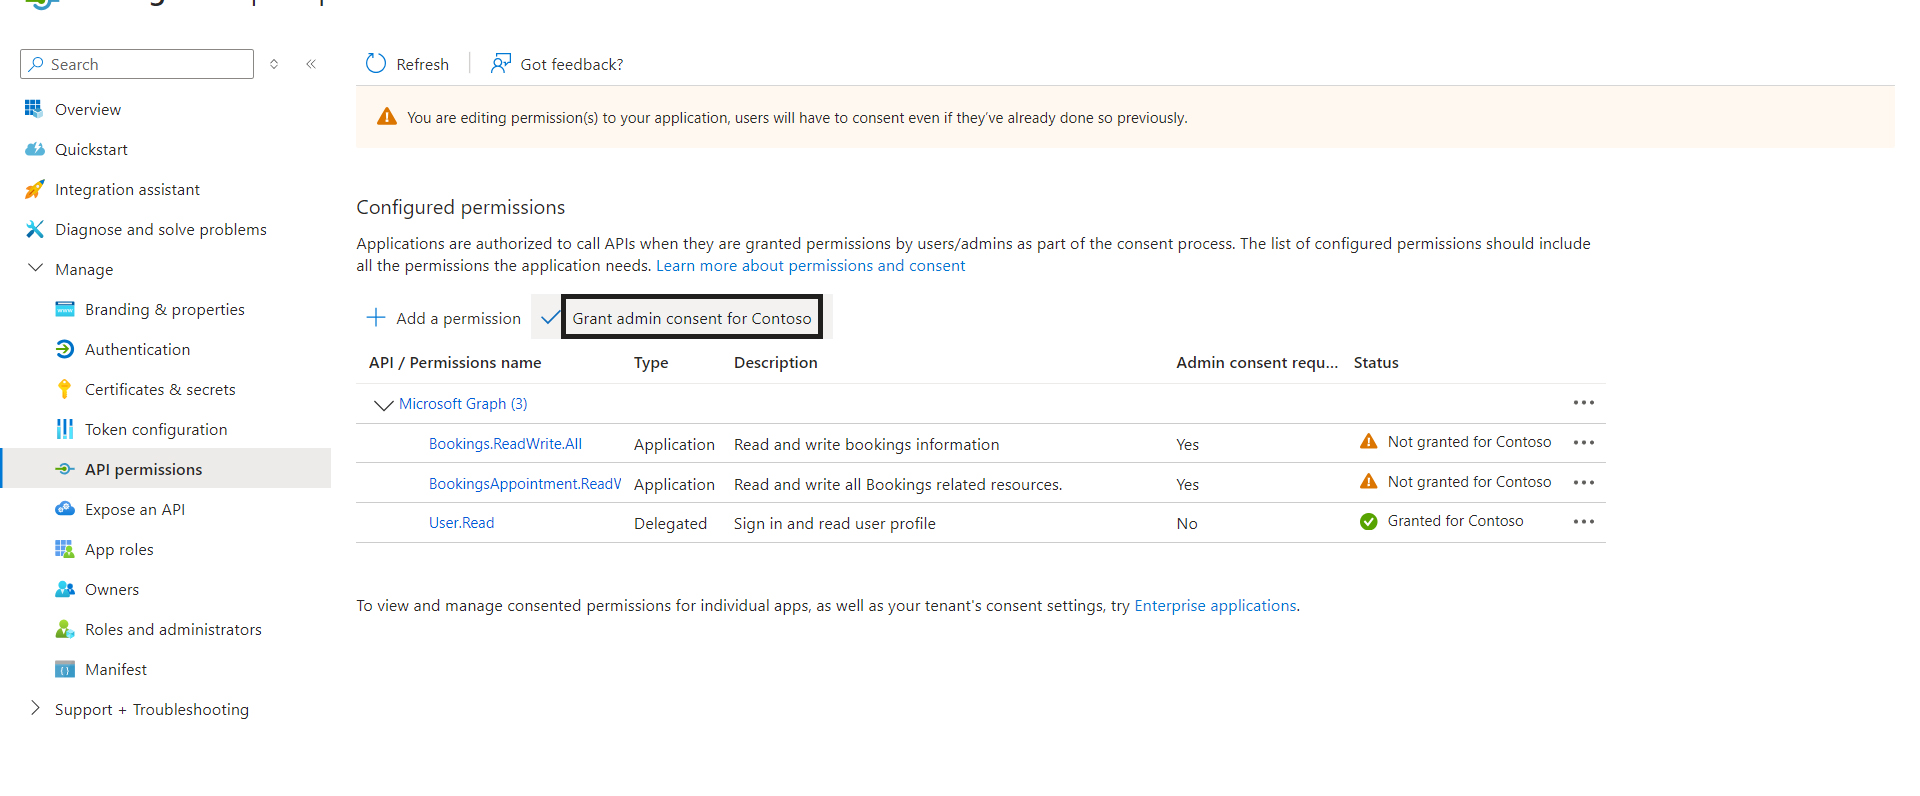
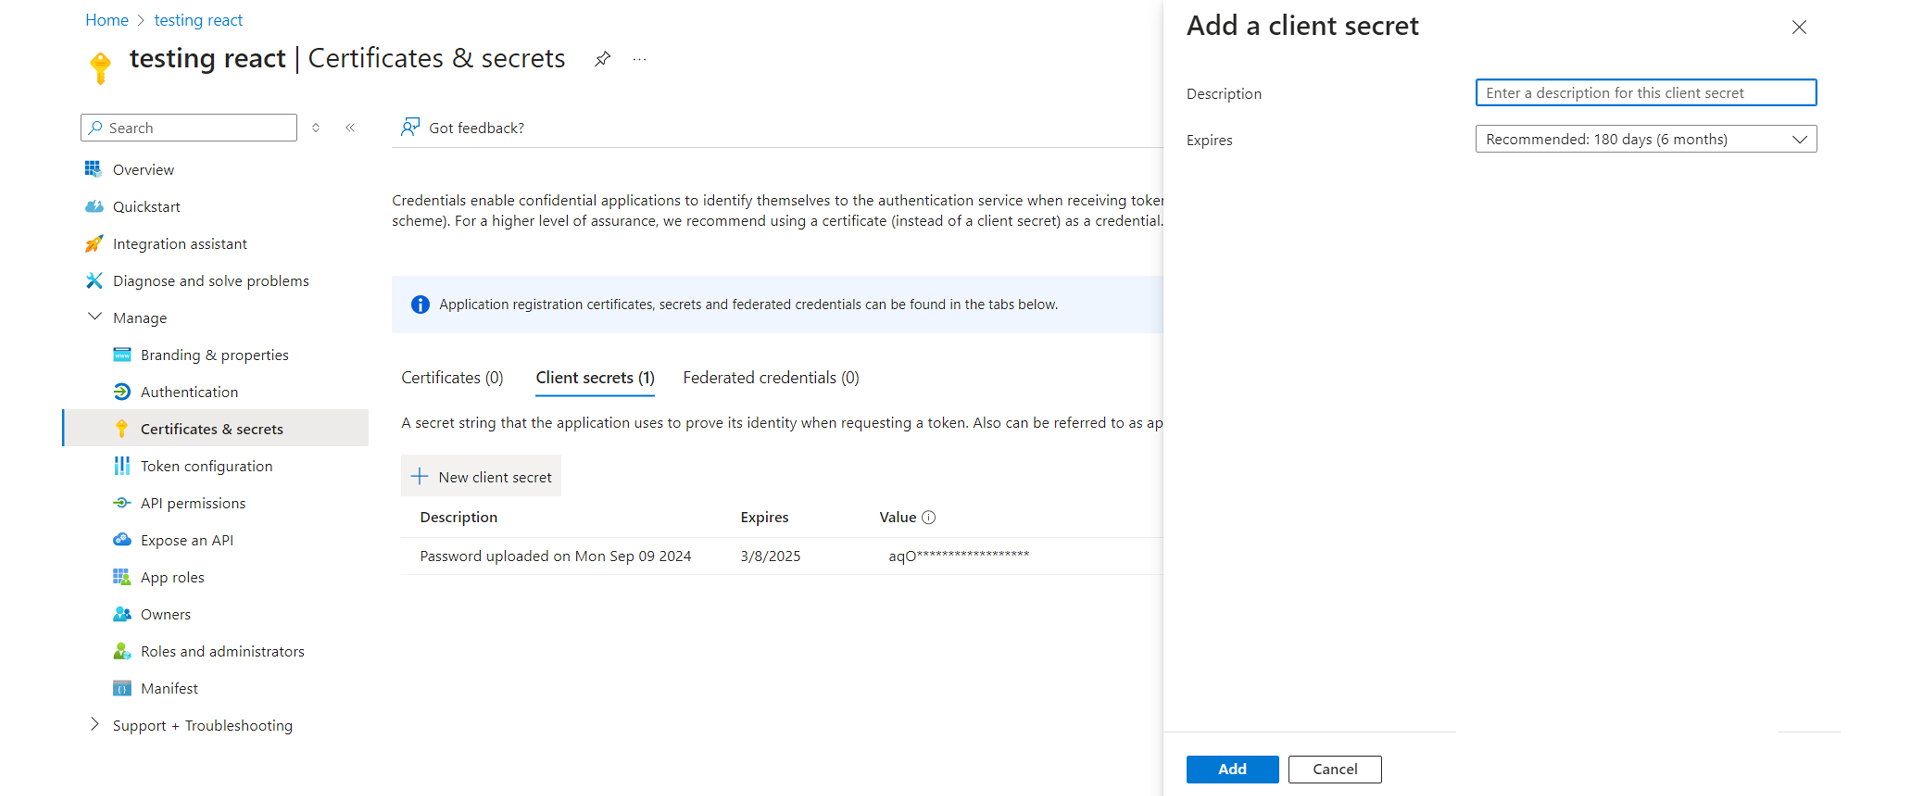
Don’t forget to grant admin consent. Finally, to authenticate your app, generate a client secret under “Certificates & secrets.” This process ensures your app can securely access Microsoft Graph, enabling powerful integrations.
Input Url: https://graph.microsoft.com
Endpoint: https://login.microsoftonline.com/